|
With respect to photography, the term toning is a technique of transforming a monochrome photograph (usually black and white) to color form. This method has originally transported from the world of cinematography. But after being adopted in the digital graphic design world, the term split toning has evolved and gained more prominence. |
• Origins of Split Toning: |
|
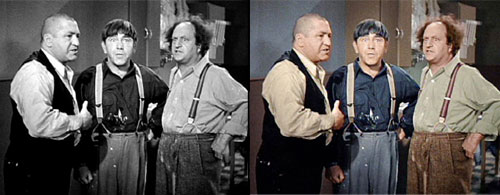
Decades ago, our ancestors were exposed to only black and white film and photography as there was no other technology to capture color effects. But in the mid 19th century, hand-colored film processes were developed and many epic films and cartoons were re-created and re-distributed in color mode. |
 |
|
A famous example is the Three Stooges Movie that was colorized and re-distributed. |
• How Does Split Toning Work? |
|
The split toning used in photography these days, is relatively different from general method of toning. Firstly, it is done through digital software like Adobe Photoshop Lightroom. Secondly, it is not restricted to a particular tint of color. You can use split toning to add any tint of color to the black and white photography. But the digital effects are not limited to photography. Even graphic designers should learn how to perform split toning as it may help in their endeavors. For those who have Adobe Photoshop Lightroom, there is a default option of “Split Toning” that makes life easier. However, for new Photoshop users, here is a simple step-by-step tutorial on how to use split toning on Adobe Photoshop: |
|
1. Select a black and white image. If you select a colored image, make sure to convert it into black and white format by pressing Ctrl + Alt + Shift + B. 2. Now add a color balance adjustment layer that will be used to create the split toning effect. 3. Use the color balance tool to modify the shadows, midtones, and highlights. We will be working with only the shadows and highlights 4. Once you have adjusted the shadows and highlights of the image to your desire, add a Hue/Saturation adjustment layer. 5. The final step of adding contrast or brightness is optional and solely relies on how you want the final image to look like. If you choose to do so, add a brightness/contrast adjustment layer and make the final adjustments. |
• Creative Examples of Split Toning Photography: |
Train Station |
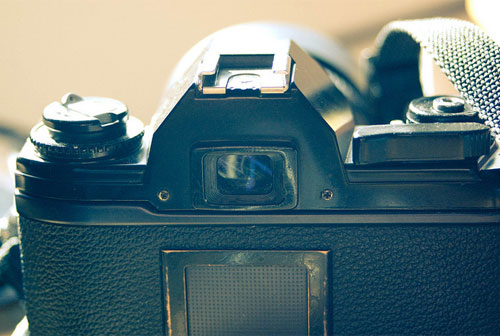
Old Nikon |
 |
Wooden Bench |
 |
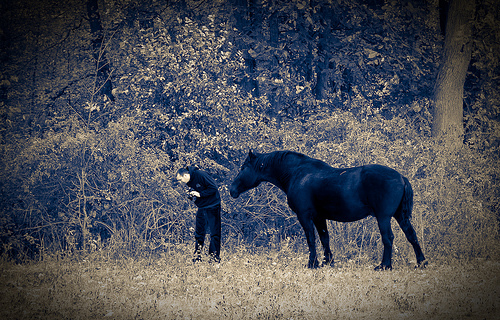
Black Beauty |
 |
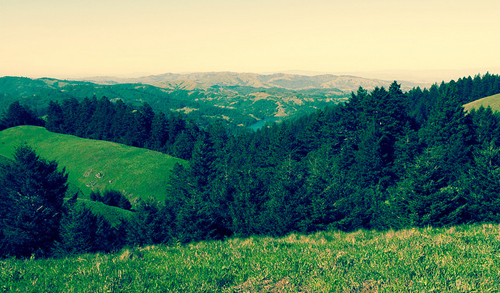
Vertorama!!
|
 |
Chess |
 |
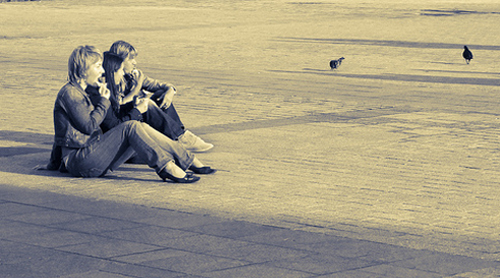
Last Rays of Sunlight
|
 |
Hazy Tracks
|
 |
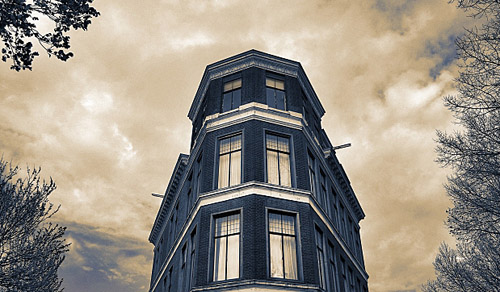
Rise in the Sky |
 |
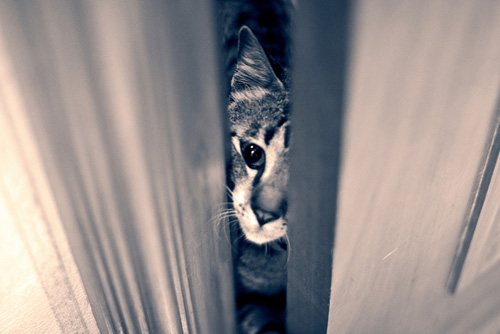
Can the Kitty come |
 |
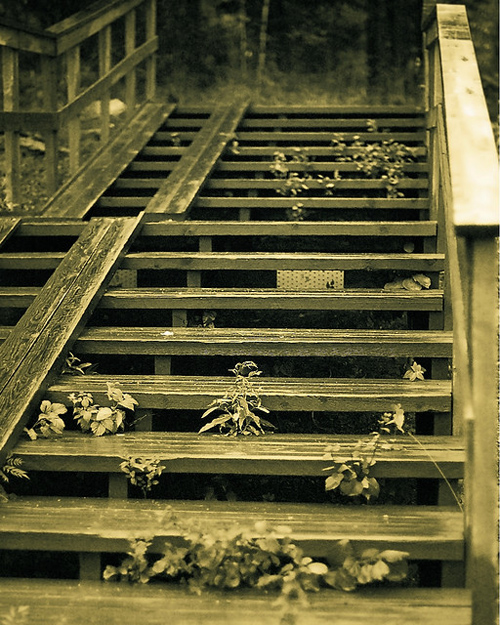
Step by Step |
 |
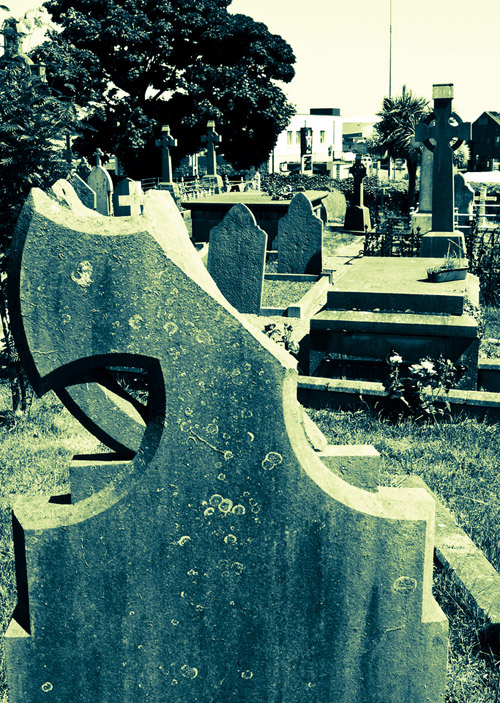
Headstone |
 |
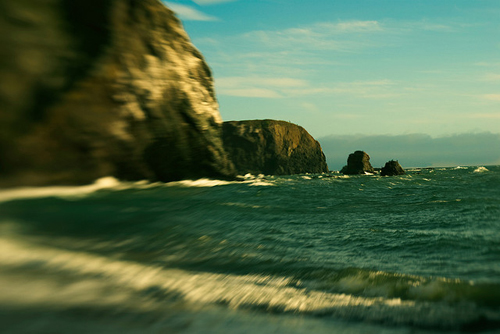
Movement or Moment |
 |
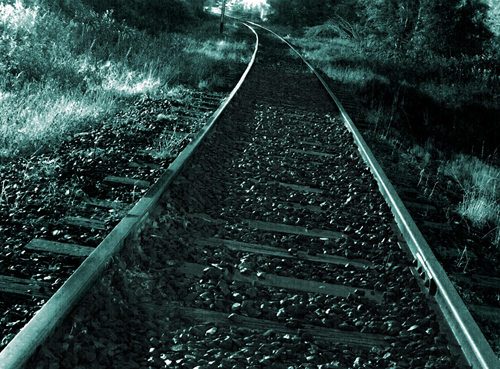
Train Track |
 |
The Path |
 |
|
If you possess your own creation of split toning photos where you tried restoring old pics using this unique effect, do share them with us. |


Split toning and restoration of older photos is always a fun thing to do!