For all of you who want to design a gig poster or brochure that would turn heads, then this tutorial will show you how to do just that. Here we are going to combine several different (perhaps) shocking elements together to come up with a very powerful, textured and retro kind of poster that will surely attract audiences. So just review the steps and the end result below and see if this kind of high visibility music poster style is the one you need.
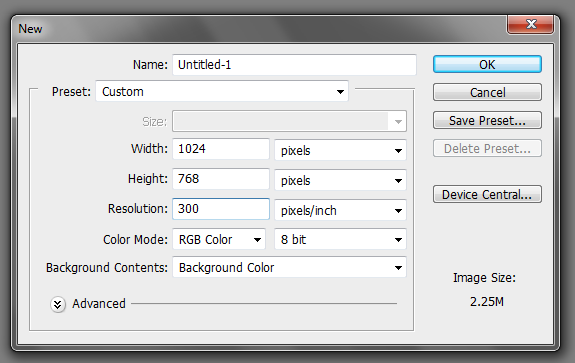
1. Of course, initially, you will want to create a new document. When defining a document, make sure you already try to set the poster size in Photoshop to make things easier. Set your dimensions to a standard poster (11x17 inches) and your resolution to 300-600ppi. The higher the better. However, depending on how much memory in your computer, you’ll want it on the lower end for slower PCs. You may adjust the sizes if you’re going for a smaller medium like print brochures or postcards.
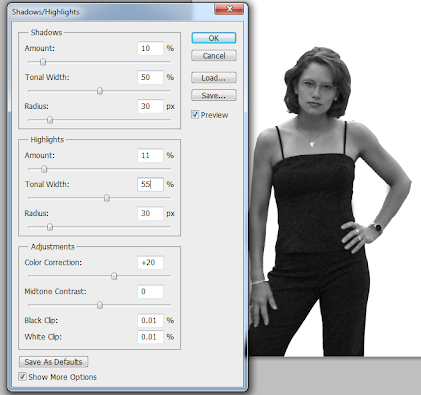
2. Now paste in your feature model or figure for the poster. We will apply several image adjustments to make our feature image more detailed. First press CTRL+SHIFT+U to desaturate the image. Afterwards, in the menu bar, go to Image -> Adjustments -> Shadow/Highlights. In the window that opens, click on “More Options”. Then set these values.
a. Shadows Amount: 10
b. Highlights Amount: 10
c. Highlights Tonal Width: 55
d. The rest should be default.
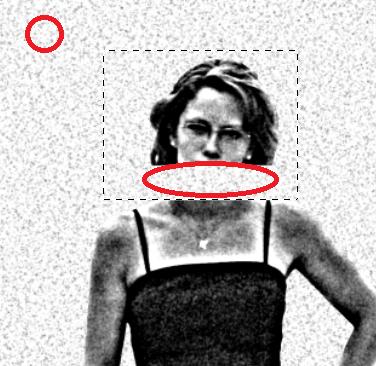
3. Now, this next step depends on your image. If you want to erase any kind of wrinkles or “imperfections to your feature model, do so by using the ‘Burn Tool”. Simply click on it and then set your range to Shadows at 5% exposure. Use a very soft brush and just brush the areas you “patch up”.
4. Note that you can also “enhance” the chest area a bit by using the burn tool to enhance the shadows there.
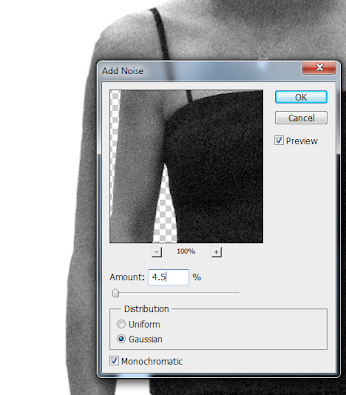
5. Next, we add some noise. Go to Filter -> Noise -> Add Noise. Set a 4.5% amount, Gaussian distribution and a click on monochromatic.
6. Next, go to Filter -> Blur -> Gaussian blur and set a 1 pixel radius for the blur.

7. Go to Filter -> Sharpen -> Smart Sharpen. Our aim here is to make the image look a bit like a Photocopy. Adjust the Amount value and Radius value until you have something like the image below.
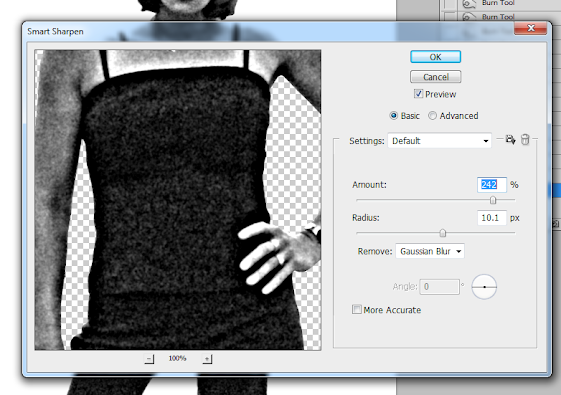
8. Apply the smart sharpen filter again. This time reduce the amount and ramp up the radius. This makes the “inks” we are simulating look more uneven.
9. Now, let us chop off her head. This can be done in various ways depending on how you setup your image. If this was a full image without her being cut off, you will want to use the clone stamp tool to first set a reference point in the background and then you brush the background over her head. If you already cut her our from the source image, then simply use the rectangular marquee tool and cut the head off.
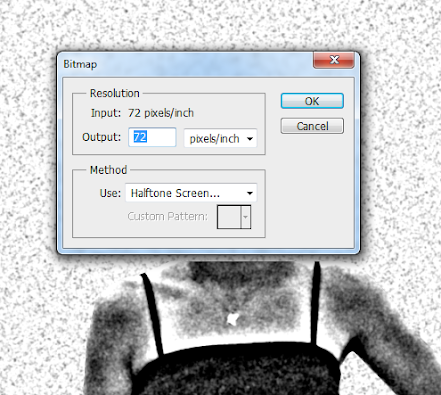
10. Next, change the mode of the image by going to Image -> Mode -> Grayscale. Then, select Image -> Mode -> Bitmap. Use 300 for the output and use Halftone Screen… for the method.
11. Then, on the halftone screen window, set the frequency to 30, angle at 45 and shape to round.
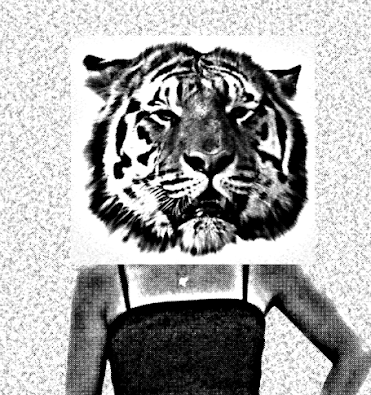
12. Now, we will use a tiger face to replace the head we just chopped off. So get a tiger image. Make it black and white by going to Image -> Adjustments -> Black and White. Then, use the pen tool to trace out the face. Make sure to set it to “Paths”.
13. Now, right click on the path you just made and select “make selection…”
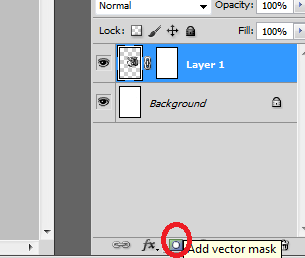
14. Then, select your background and duplicate it by pressing CTRL+J. Select the duplicate and click on the “Add Vector Mask” icon below the layers panel. Then, select your background again fill your it with white. Just use the brush tool.
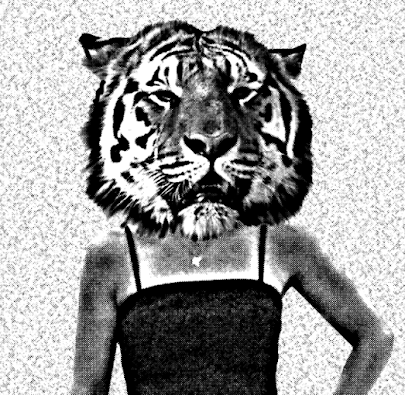
15. Now, we will simulate some of the hair that we cut off in the tiger. Use the smudge tool with a spatter brush (built in pre-set brush in Photoshop). Set the smudge strength to about 36% and then just stroke from the face outwards to simulate the hair.
16. Now, just apply everything we did for the girl image before unto the tiger. This includes the shadows and highlights, burn tool, add noise, Gaussian blur, smart sharpens and the bitmap halftone screen.
17. Copy and paste the tiger head into our main poster design.
18. Then use the magic wand tool to erase the whiter areas around the tiger face.
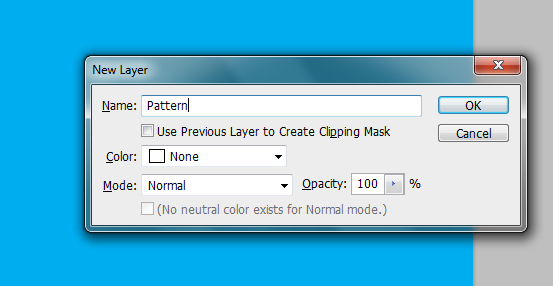
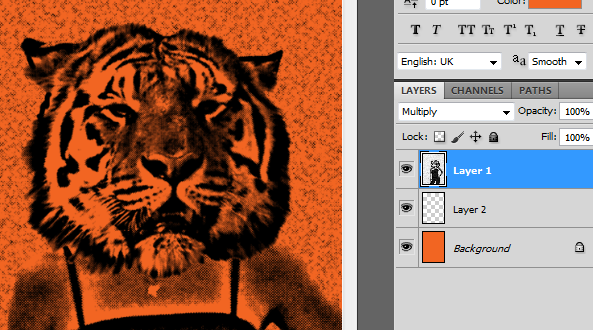
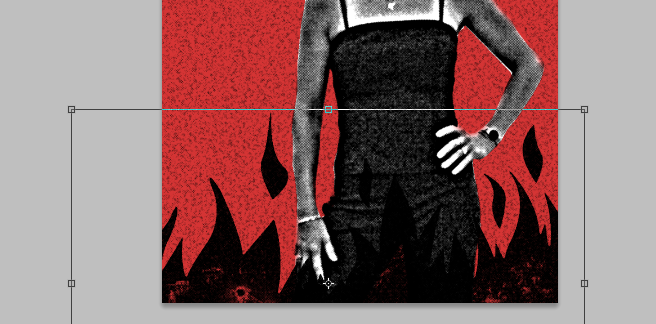
19. Great! Now go to Image -> Mode -> RGB to flatten the image and let us use colors. Duplicate our “background layer” as this will become the main art. Adjust the position accordingly. Fill up the original background with a color. Then change the blend mode of the DUPLICATE to overlay. Create a new layer as well between the background and our main art layer.
20. Select the art layer. Now, use the polygonal lasso tool to trace out the outlines of our tiger girl. Once the outline is complete, select the new layer and fill it with white.
21. Next, we added some fire shapes onto the bottom of our poster using the pen tool. This can be anything really though depending on your theme. It can be an audience silhouette or something equally interesting to fill up the bottom. We also changed the background here.
22. In a separate document, we have copied the fire shapes, merged them together and then applied ALL the effects that we used for the girl and the tiger. We even added a few grunge brush erased spots to make things more noisy.
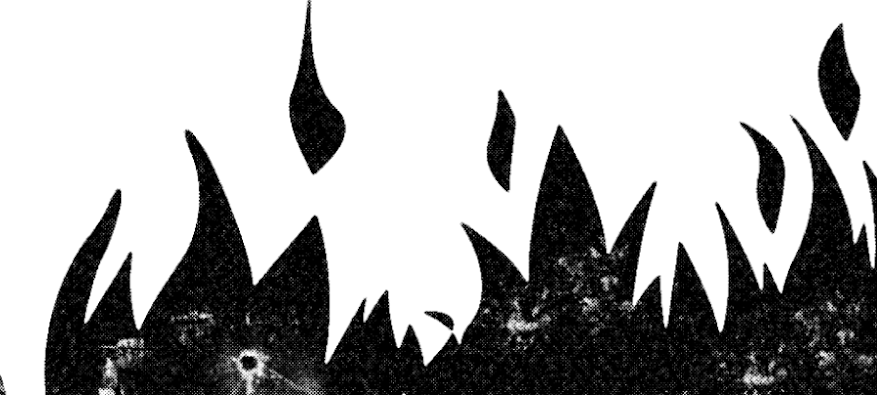
23. Paste our edited flames back into the poster design and remove the white areas.
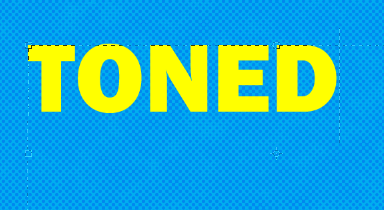
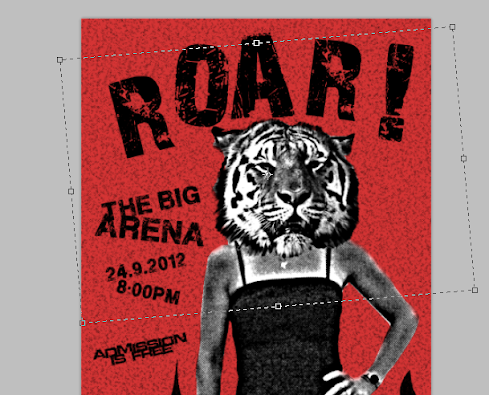
24. Then, type in your text. Use grunge fonts to make things look noisy. Alter their orientation so that they seemed messed up.
25. Now, our final trick. Duplicate the colored background layer. Color the ORIGINAL white, and then reduce the size of the duplicate that was colored like so.:
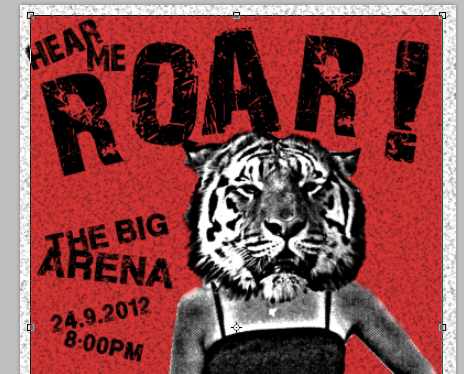
26. Great! Now you have a great high visibility poster for your gig/music event. Congratulations!